Most backyard movie nights fail before the first frame. Not because the projector is bad, but because nobody planned the outdoor projector setup around the two things that actually matter outside: light and power. I have rigged outdoor projection on decks, patios, driveways, and one gravel pad behind a barn in Johnston County, and the same pattern shows up every time. The people who scout the spot the night before and figure out where the outlet is end up watching a movie. Everyone else watches a gray rectangle and gives up at intermission.
Here is the whole process, plus the one piece of gear that does most of the work and the cheap supplies that keep it running all season.
Why you should trust me
I am Devon, a home theater installer and AV tech in Raleigh, and I have spent 15 years hanging projectors: budget Amazon specials in damp basements, laser rigs in dedicated rooms, and everything in between. I calibrate with a colorimeter, not with my eyes. I have also spent more June evenings than I care to count dragging extension cords across wet grass to answer the one question every client asks: will this actually work outside?
My bias is simple. Brightness and light control beat every other spec on the box, and outdoors, light control means trees, timing, and knowing when the sky finally gives up.
What decides whether the image holds up outdoors
Three things, in order.
Ambient light. A projector fights whatever light is already in the space. Indoors that is a lamp. Outdoors it is the entire sky, and the sky does not have a dimmer. Full dark in Raleigh in mid-July does not arrive until close to 9 p.m. If you want to start at 8, you need a lot of brightness and a small image. If you can wait, a modest projector looks dramatically better than a bright one at dusk. This is the whole game.
Throw distance. Throw ratio tells you how far the projector has to sit from the screen for a given image size. A ratio of 1.2 means 1.2 feet of distance for every foot of image width. Measure your patio before you buy anything, because seating, the fence, and the grill all eat the space you thought you had.
Power. One long 16-gauge extension cord on a 15-amp circuit is fine for a projector and a streaming stick. Add a space heater, a blender, and a bounce house blower and you will trip the breaker in the middle of the climax. Plan the circuit before the guests arrive.
The projector for the backyard
For an outdoor rig I look for four things: enough brightness to survive dusk, built-in streaming so I am not running a long HDMI cable across a lawn, auto focus because the unit gets moved, and onboard sound loud enough for a dozen people.
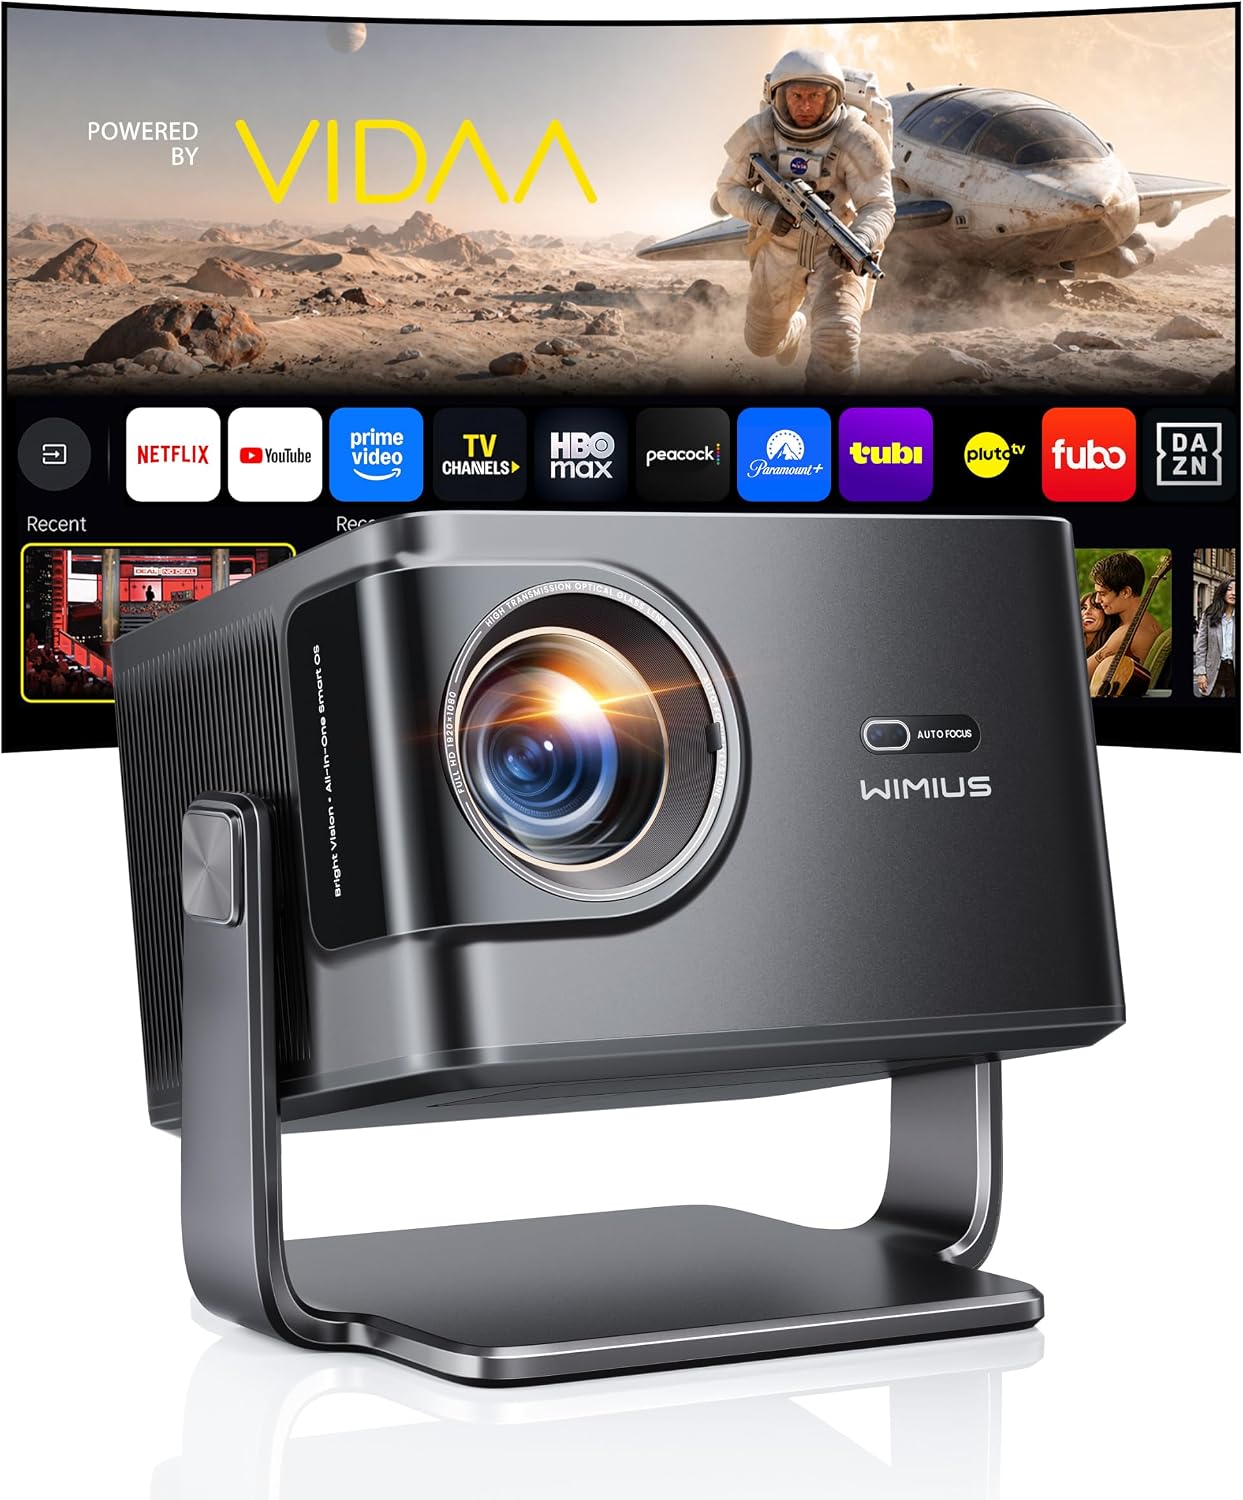
Our pick: Outdoor Projector 4K [VIDAA Live TV/60W Dolby/1450 ISO] with WiFi6 & Bluetooth, Smart Projector Compatible with Netflix, AI Voice Control & Auto Focus, HDR10, Home Theater & Outdoor Movie Proyector
 Visit on Amazon →
The listing rates this one at 1450 ISO lumens. ISO and ANSI are different measurement standards, so treat that figure as the manufacturer's number rather than a lab fact, but the class is right for a backyard: it is built to throw a usable image at dusk, not only at midnight. For a 100-inch image after sundown, that is a comfortable place to be. Push it to 150 inches while the sky is still blue and you will watch the image go flat, which is true of every projector at any price.
What sells it for outdoor use is everything around the lens. WiFi 6 and Bluetooth mean you can stream without a cable run, and the built-in smart platform carries Netflix and the usual apps, so the source is the projector instead of a laptop balanced on a cooler. Auto focus matters more outside than inside, because you will move this thing and the ground under it will shift when someone walks past the tripod. AI voice control is a convenience rather than a reason to buy, but it is genuinely handy when the remote ends up on the far side of the blanket.
HDR10 helps with dark scenes, and the 60W Dolby audio is the quiet win. A single unit with that much onboard sound means you can run a small gathering without a separate speaker and a second power cord. For a dozen people on a patio, that is enough. For a full block party, plan on a dedicated speaker.
Flaws but not dealbreakers: There is no mention of lens shift in the spec list, which is normal at this level. That means you place it, you square it, and you use digital keystone only as a last resort, because keystone correction costs you resolution and adds softness at the edges. Also, any projector this size needs airflow, so do not box it in on a shelf.
Anyone who wants a self-contained backyard setup, one box, one cord, one remote, will get along with this one.
The supplies you will use every single time: Utopia Towels Microfiber Kitchen Towels 8 Pack 18x26 Inch Grey
 Visit on Amazon →
This is the least glamorous item in any outdoor setup and the one I reach for most. Optics and screens are dust magnets, and outdoors you are fighting pollen, grass clippings, bug spray, and condensation. A clean microfiber cloth is the only thing I will touch to a lens or a screen surface, because microfiber lifts dust instead of dragging it across the coating.
Eight towels at 18 by 26 inches is the right size and count for this job. One lives in the projector bag for the lens and the housing. One handles the screen fabric, which picks up fingerprints every time someone helps you hang it. The rest go to the boring work: wiping down patio chairs, drying a table after a sprinkle, cleaning HDMI and power connectors before they go back in the case, and mopping dew off the top of the projector at the end of the night. Grey is the right color for gear duty because it does not show the grime you are removing.
Two rules. Never use fabric softener or dryer sheets, because the residue turns the cloth into a streaky mess. And on the lens itself, blow off loose dust first, then wipe gently with a dry cloth. No sprays, no glass cleaner, no pressure on the coating.
Flaws but not dealbreakers: These are kitchen towels, not optical wipes, and an old one will shed a little lint. Retire the lens towel every season and keep the worn ones for the patio furniture.
Anyone who has ever tried to clean a lens with a paper towel will appreciate these.
The setup, step by step
Now the part that decides whether the night works.
Step one: scout the spot at the time you plan to start. Go outside at 8 p.m. the night before and stand where the screen will be. Where is the darkest surface? Which way does the sunset glow come from? Where are the streetlights and the neighbor's porch light? Pick a screen location that faces away from the brightest source you cannot control.
Step two: measure the throw distance. Decide your image width, then multiply by the throw ratio to get the distance from lens to screen. Walk it off with a tape measure and mark the spot. If the number does not fit your patio, shrink the image. A smaller, brighter picture always beats a big, dim one.
Step three: solve power before you place anything. Run the extension cord along the house, not across the walking path, and tape it down or tuck it under a mat. Plug in the projector, the streaming source if you are using one, and any speaker, then confirm the circuit holds before dark.
Step four: place the projector square to the screen. Center it, level it, and aim it so the image lands on the screen without keystone correction. If you must use keystone, use as little as possible. This is the step people rush, and it decides whether your edges are sharp.
Step five: focus once, then again after 20 minutes. Auto focus handles most of it. Optics drift as the unit warms up, so run the focus again once the housing is hot. If the surface is soft ground, check the feet for settling.
Step six: set the picture, then leave it alone. Turn off eco or auto brightness modes if the image looks dull, because most projectors dim the light engine to save life and cut fan noise. Outdoors you want the brightness. Pick the movie or cinema preset, keep motion smoothing off, and resist the urge to fiddle once the film starts.
Step seven: test with a dark scene, not a trailer. Trailers are cut bright and punchy. Load the actual movie, jump to a night scene, and see whether you can read faces. If you cannot, shrink the image or wait for a darker sky.
Step eight: handle audio and latency. The onboard 60W Dolby system is fine for a patio crowd. If you go bigger, use a wired connection to your speaker when you can. Bluetooth audio is convenient, but it adds delay that shows up as lip sync problems, and no menu setting fully hides it.
Step nine: teardown and wipe down. Let the projector cool, then wipe the housing and the screen fabric with a dry microfiber towel before anything goes back in the case. Dew is the enemy of electronics, and a five-minute wipe at the end of the night costs less than replacing a unit.
What you can skip
Skip the inflatable screen if you have a light-colored wall or a garage door. It works.
Skip the resolution badge chase. At backyard viewing distance on a 100-inch image, a well-placed projector beats a badly placed one with better paperwork.
Skip the soundbar for a crowd under fifteen people. The onboard audio covers it.
Skip the thin extension cord. Voltage drop shows up as flicker and shutdowns, and you will blame the projector.
Care and troubleshooting
Image looks washed out at dusk. The sky is still too bright for your image size. Shrink the picture, wait 30 minutes, or both.
Focus drifts during the movie. Normal for the first 20 minutes. Refocus once and it usually settles.
Audio lags behind lips. You are on Bluetooth. Switch to a wired connection or use the onboard speakers.
The projector shuts off mid-movie. Check the cord and the circuit first, then airflow. Projectors in enclosed spaces overheat and protect themselves.
Dew on the housing. Wipe it down before you pack it, and let everything dry indoors before you close the case.
Bugs on the lens. Do not spray anything. Blow off the loose ones, then use the dry microfiber.
The bottom line
An outdoor movie night is not a hardware problem. It is a scheduling and placement problem. Scout the light, measure the throw, plan the power, place the projector square, and keep a microfiber towel in the bag. Do that and a mid-range projector will look better than a flagship one that got plopped on a patio table at 8 p.m. in July.
That is the whole job. Set it up once, and the backyard becomes the best room in the house.