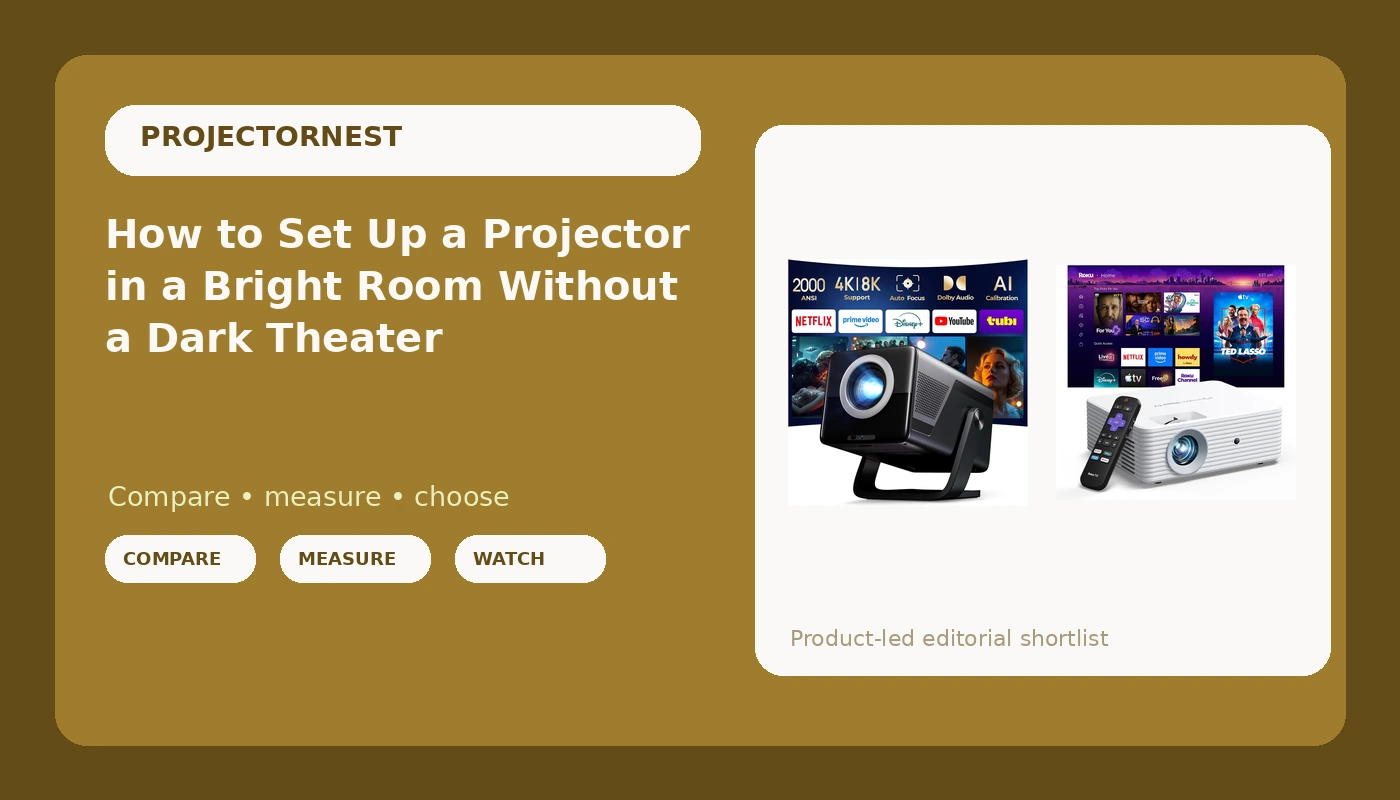
Every projector question I get in October starts the same way. Someone has a living room with two windows, no basement, and a budget that tops out in the low hundreds. Bright room projector setup is not a hardware problem first. It is a room problem first, and I have watched a lot of people solve it in the wrong order and then blame the projector.
I have been hanging projectors for fifteen years in Raleigh, from a few hundred dollars in apartments to five-figure laser rigs in dedicated rooms, and I calibrate with a colorimeter instead of my eyes because my eyes lie to me after twenty minutes in the dark. My own theater runs a 120-inch screen in a basement with lights I control from my phone, and I still keep blackout curtains for the room upstairs, because that room has windows and windows win.
Here is the order I would work in, plus the two projectors I would actually start with when the room has light in it and the budget has a ceiling.
Why you should trust me
I have hung more projectors than I can count, including the first one I ever bought, which could not survive a single table lamp and taught me the rule I have repeated to clients ever since: room control beats hardware. A cheap projector in a dark room looks better than an expensive projector in a bright one. That is not a slogan, it is what happens on the wall.
Two things I will not do in this article. I will not quote a brightness number that the listing does not state, and I will not pretend a 1080p panel is a 4K panel because the box says 4K somewhere. If a projector accepts a 4K signal and resolves 1080p, that is a completely normal thing at this price, and it looks fine from a couch. It is just not the same thing as a 4K chip, and I want you to know which one you are buying.
How I picked and what I checked
The two projectors below sit in the two tiers most people actually shop, a budget entry tier and a step-up tier. I have not put a meter on either one, so I am not going to quote a measured number for either one. What I can tell you is what each listing states and what that means in a room with windows in it.
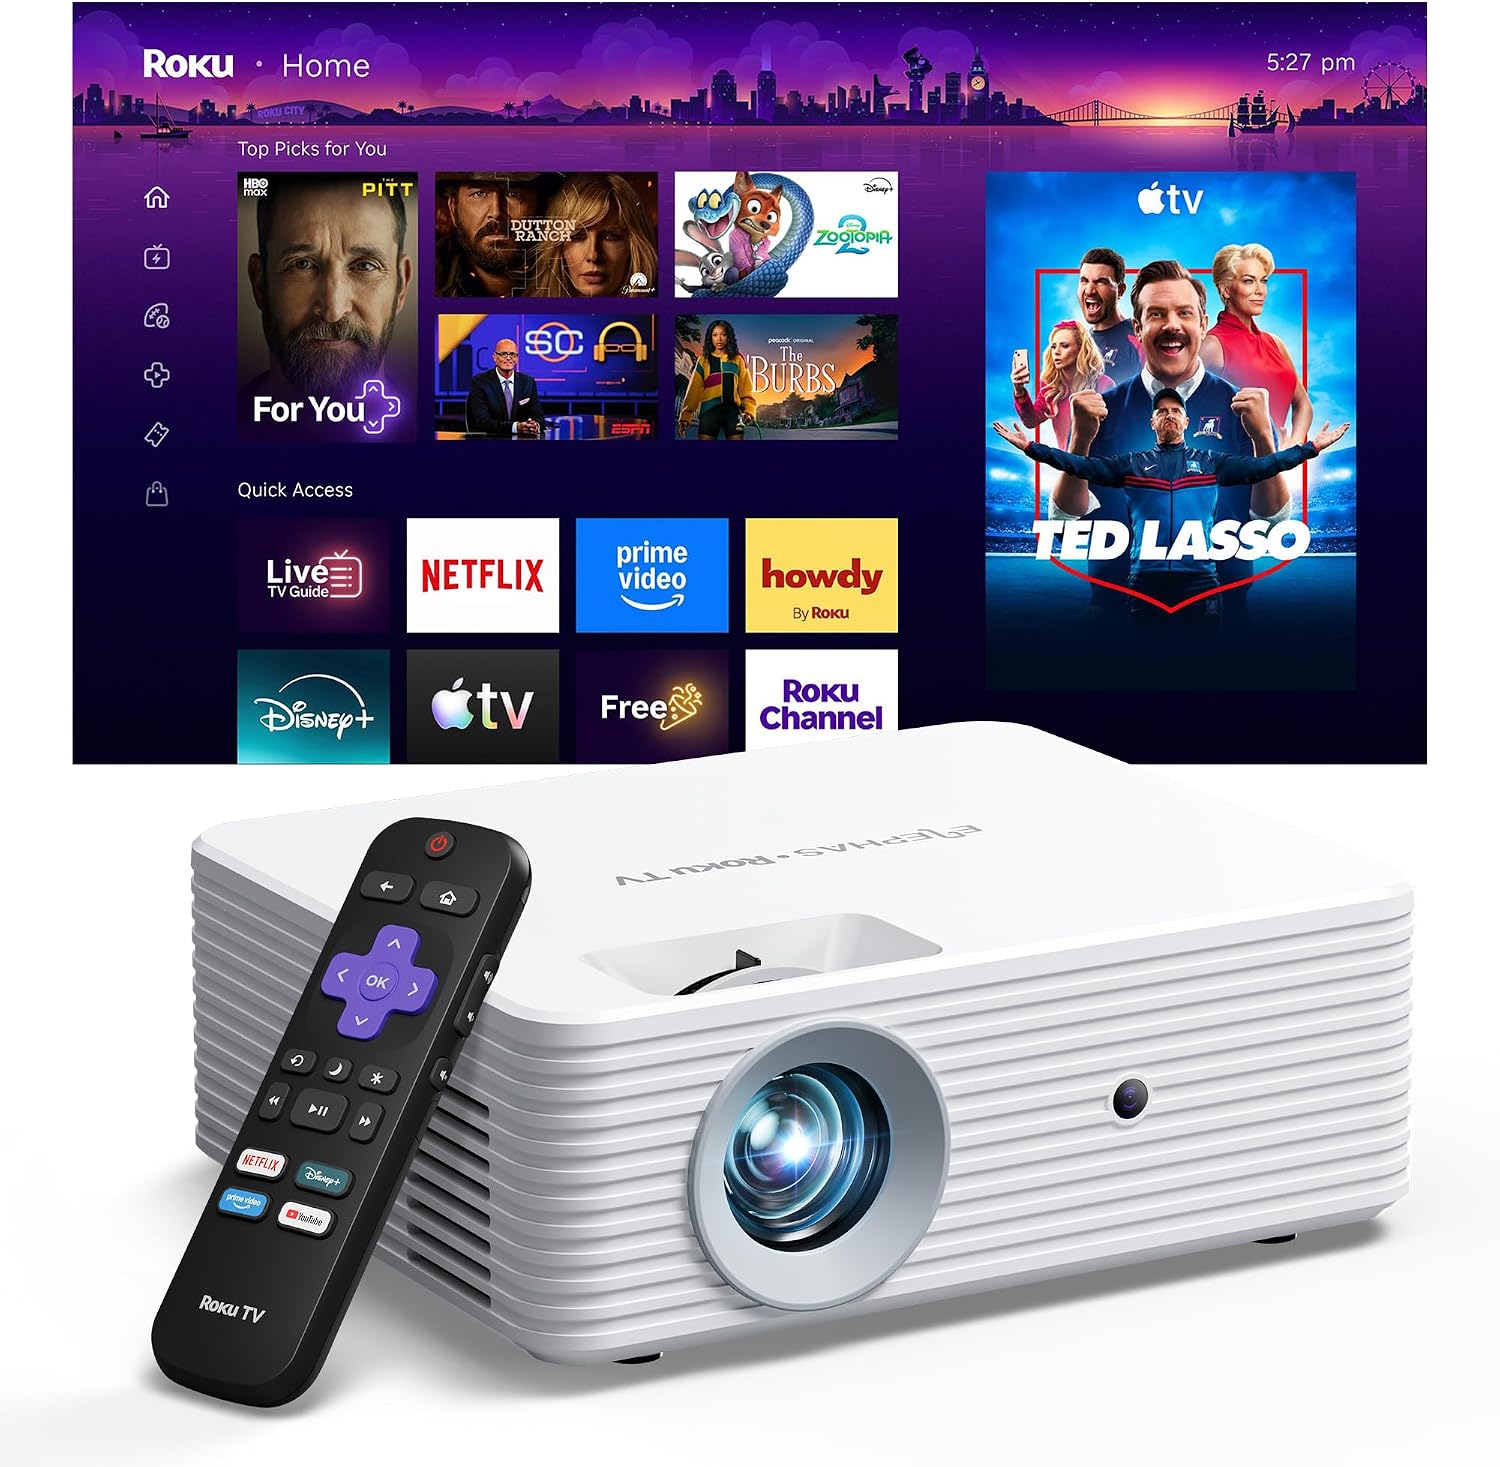
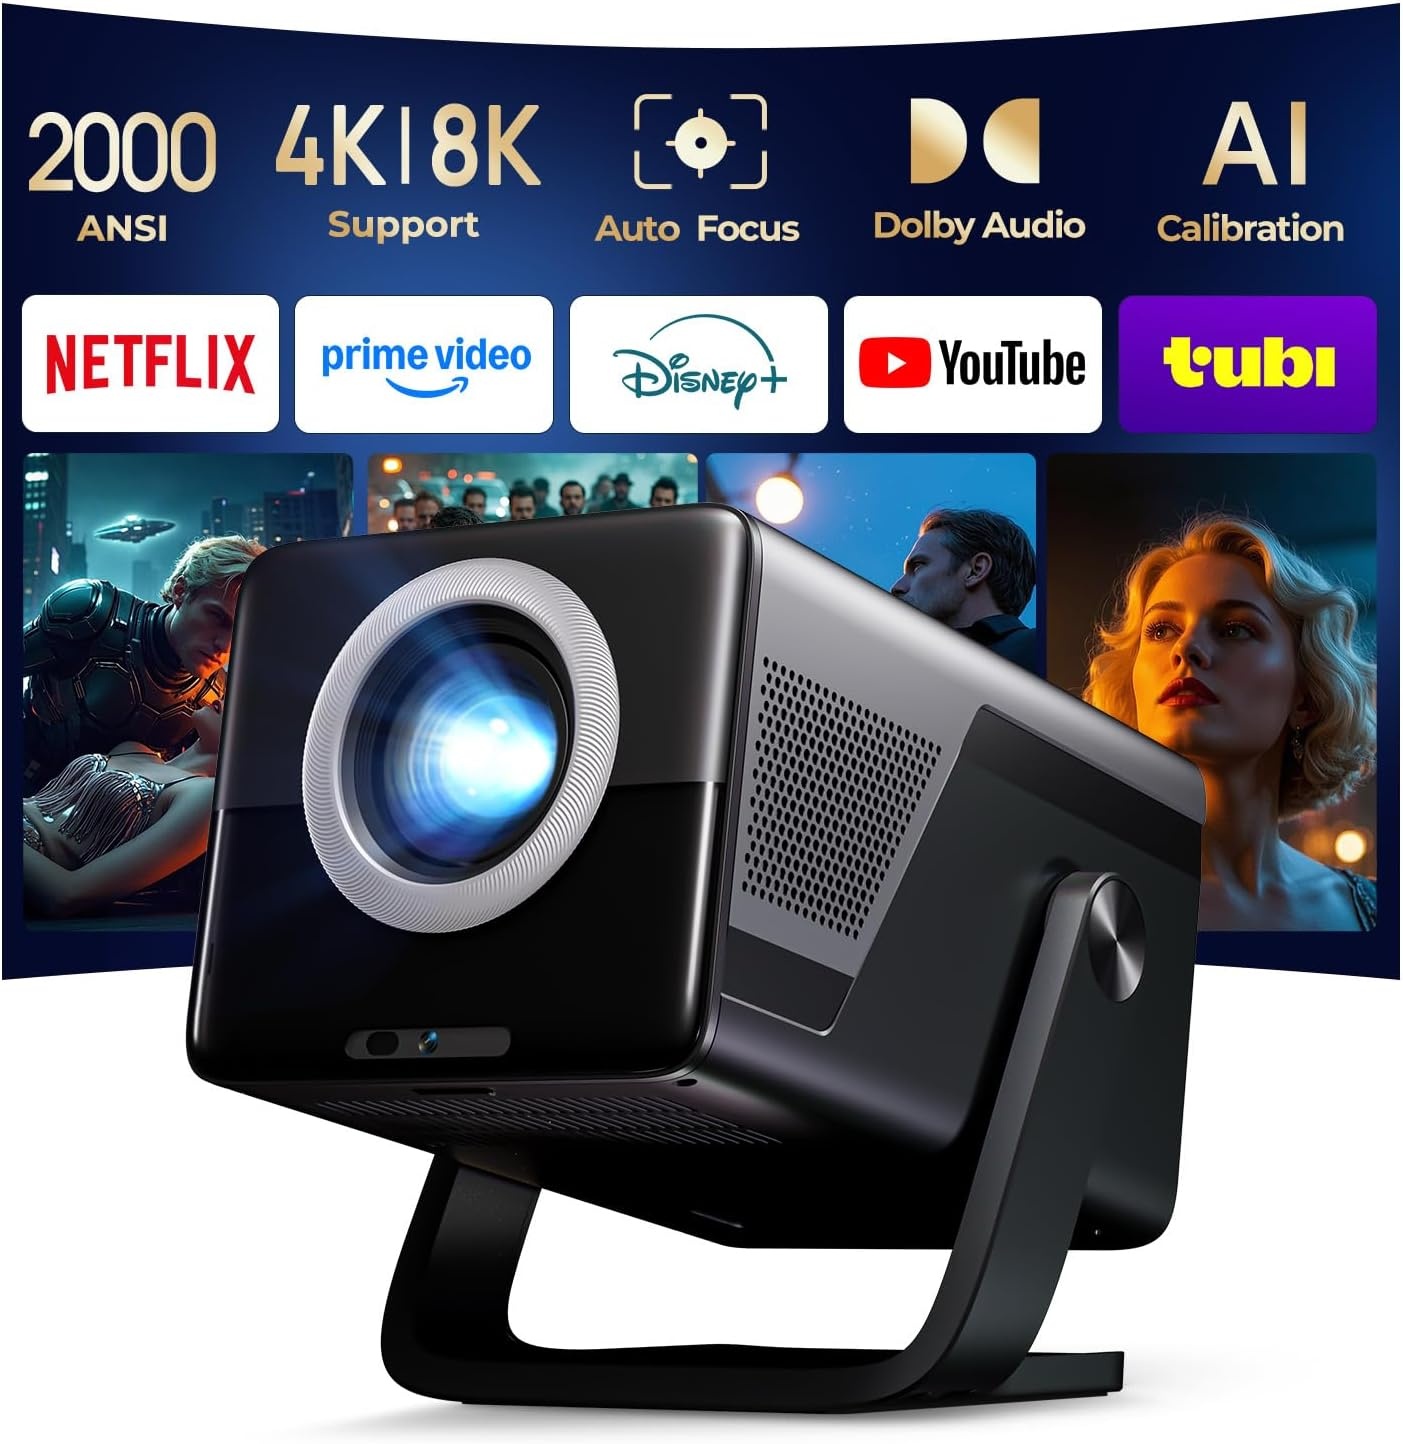
The first thing I check is whether the listing gives an ANSI lumens figure. ANSI lumens is the industry standard measurement. Anything quoted without ANSI is marketing, and there is no way around that. The X7 states 2000 ANSI lumens, which is a real number in a real unit and tells me it is built for a room that is not perfectly dark. The ELEPHAS listing leads with Roku and connectivity instead, which tells me the pitch is convenience, not light output.
The second thing I check is native resolution versus input support. The X7 is a native 1080p panel that accepts 4K and 8K input. That means your 4K player or console can talk to it and the projector will show you a clean 1080p image. At ten feet on a 100-inch screen, 1080p is sharp enough that most people cannot pick it out of a lineup.
The third thing is the smart platform, because it decides how much junk hangs off the back of the projector. The ELEPHAS runs Roku TV with Wi-Fi and Bluetooth built in, so the streaming interface is one you already know, and there is no stick dangling from the HDMI port. The X7 is also a smart projector with Wi-Fi and Bluetooth.
The last thing is mounting and fan noise, and neither of those can be judged from a listing. Buy from somewhere with a return window, and listen to it at full lamp power on day one.
The two projectors I would start with
Budget pick: ELEPHAS Roku TV Smart Projector with Wi-Fi and Bluetooth
 Visit on Amazon →
The reason this one makes the list is Roku TV built in. You plug it in, connect it to Wi-Fi, sign into the accounts you already have, and you are watching something in a few minutes without buying a streaming stick or hunting for a second remote. For a bedroom, a dorm room, or a rental where you are not drilling into the ceiling, that convenience is the entire product. Bluetooth gives you a path to a real speaker or a pair of headphones, which matters more than people expect in a small room.
What Roku does not do is make light disappear. If the listing does not hand you an ANSI figure, plan your room around that: watch after dark, or hang blackout curtains on the window that faces the screen. This is the projector I would hand to someone who wants a big picture tonight and understands that the room is part of the deal.
Flaws but not dealbreakers: At this tier the built-in speaker is a convenience, not a soundtrack. Budget for a Bluetooth speaker or a soundbar, because dialogue is the first thing that suffers. Also, a projector this size wants a flat wall or a cheap screen, not a textured one.
Anyone in an apartment or a spare bedroom who wants streaming without extra boxes should start here.
Step-up pick: X7 2000 ANSI Smart Projector, 4K/8K Input Support, Native 1080P, 125% sRGB
 Visit on Amazon →
This is the one I would put in a living room with windows. The 2000 ANSI lumens figure is stated in the unit that actually means something, and that is the number that decides whether you get a picture or a fog. It is also the reason I put this in the step-up slot instead of the budget one. Brightness is the spec I would trade every other feature for in a room I cannot black out.
The panel is native 1080p with 4K and 8K input support, so it takes a modern signal and resolves 1080p. The listing also claims 125% sRGB color coverage, which is a color range claim, and color range is the second thing that separates a projector that looks like a TV from one that looks like a toy. It has Wi-Fi and Bluetooth as well, so you are not stuck with a single input.
Flaws but not dealbreakers: More lumens usually means more fan noise at full power, so if you are sensitive to it, run it in a lower lamp mode at night and save the full output for daytime sports. And if you need the image shifted sideways without moving the projector itself, read the keystone section of the listing carefully before you order, because digital correction is not the same thing as a lens that shifts.
Anyone with a bright living room, a console, and a screen between 90 and 120 inches will get the most out of this tier.
Step one: measure the room before you buy anything
Throw ratio is the number that decides whether the projector can even live in your room. It is how far the projector must sit from the screen, expressed as feet of distance per foot of image width. A 1.2 throw ratio means 1.2 feet of distance for every foot of image width. A 100-inch diagonal image is about 87 inches wide, so you need roughly 8.7 feet of distance. If your couch wall and your back wall are 8 feet apart, you are looking at a smaller image than you wanted, and no menu setting fixes that.
Measure twice: the distance from where the projector will sit to the wall, and the height of the wall above the furniture. Then check the listing's throw ratio before you buy. If the numbers do not line up, pick a different projector, not a different wall.
Step two: pick the surface
A flat white wall works, and I mean flat. Texture shows up as a soft, smeared image and it is the number one reason a projector looks bad in a room where nothing is actually wrong. If the wall has a bumpy finish, a cheap fixed-frame screen is the upgrade that pays off first.
In a room with light, a gray screen helps by lowering the black floor and adding a little contrast, at the cost of some brightness. Ambient light rejecting screens do more than that, but they cost more than a budget projector and they need to be aimed correctly, so I do not recommend one until you have already decided you love the room and the setup. Start simple. Add the expensive screen when you know the projector is staying.
Step three: kill the light you can control
This is the step people skip, and it is the one that decides the outcome. Curtains on the window that faces the screen do more than any picture setting on this page. Blackout liners are the cheap version. Heavy drapes over a sheer layer are the version that also looks like furniture.
Then look at the lights you cannot turn off. A lamp beside the screen throws light across the same surface the projector is fighting, so move it behind the seating. Ceiling lights directly above the screen are worse than lights in the back of the room. A dimmer on the ceiling circuit is a small purchase that changes how the room feels at night. And nothing, absolutely nothing, should sit between the projector and the screen, because even a low lamp in that path washes out the image in a way you can see from the couch.
Step four: mount it and square it
A ceiling mount keeps the projector out of the walkway and keeps kids and pets away from it. A shelf on the back wall is the cheaper option and the better one if you rent. Either way, get it level in both directions before you touch the keystone menu, because a projector that is physically level needs almost no correction.
Digital keystone fixes a crooked image by cropping and scaling pixels, which softens the picture slightly. Use as little of it as you can. If you find yourself dialing in heavy keystone correction, the projector is in the wrong place, and moving it six inches will beat anything the menu can do.
Route the HDMI and power cables before you hang the unit, not after. Nobody enjoys a second trip up the ladder.
Step five: set the picture mode honestly
Out of the box, most projectors ship in a bright, blue, over-sharpened mode designed to look punchy in a showroom. You are not in a showroom. Here is the order I work in.
Pick the Movie or Cinema mode, or a User mode you can adjust, and turn off anything called Dynamic or Vivid. Turn off automatic brightness if it has one, because it reads the room and crushes the image in dim light.
Set the color temperature to Warm. Movies are graded on a warm, neutral standard, and the cool setting that looks brighter is the one that makes skin tones look wrong.
Turn sharpness down. Most projectors ship with it cranked up, which adds halos around edges that read as detail but are not. Turn it down until the halos disappear.
Turn motion smoothing off. Whatever the brand calls it, frame interpolation adds frames the director did not shoot, and it is the single most obvious sign that a projector has not been set up.
Set gamma for your room. In a dark room, aim for the darker option. In a room with light, a slightly brighter gamma keeps shadow detail visible instead of turning it into a black smear.
Save the settings as a preset and leave them alone.
Step six: fix the sound
Projector speakers are a placeholder. Bluetooth on both of these projectors means you can pair a soundbar or a speaker without running a single cable to the front of the room, which is the reason I care about Bluetooth in this category at all. Pair it, then check lip sync. If dialogue lands late, most projectors and most soundbars have an audio delay setting, and two or three clicks in the right direction fixes it.
Where these two fall short
Neither of these is a dedicated-room projector, and I would not sell you one as if it were. There is no laser light source here, which means there is a lamp with a rated life and a replacement cost somewhere down the road. There is no lens memory, so if you like switching between a 16:9 movie and a wider format, you will be moving the image by hand. And neither one is going to beat a properly dark room, because nothing does.
If you have a blacked-out basement and a much larger budget, shop a tier up. If you have a living room with windows and a few hundred dollars, these two are the right conversation.
What this all costs
The projector is the smallest line item in a room that fights light. Curtains, a screen, a mount, and a speaker all add up, and the cheapest of them does the most work. Check current Amazon price on both projectors before you commit, then price the room around whichever one you pick.
The math that matters is not the sticker. It is whether you will actually use the thing. A projector that gets used four nights a week costs almost nothing per movie. A projector that gets used twice and then lives in a closet because the picture washed out at 4 p.m. costs a lot.
Set the room up first. Then set the picture up. Then watch something you have already seen ten times and see whether it pulls you in again. That is the test I use, and it has never once failed me.