An outdoor projector setup is the fastest way to turn a backyard into a theater, and the fastest way to waste a Saturday. The part that usually fails is not the projector's processing. It is light: porch lights, streetlights, a moon, and the light a screen refuses to bounce back toward the people watching. Control the light and a modest projector looks impressive. Ignore it and an expensive projector looks like a fog machine.
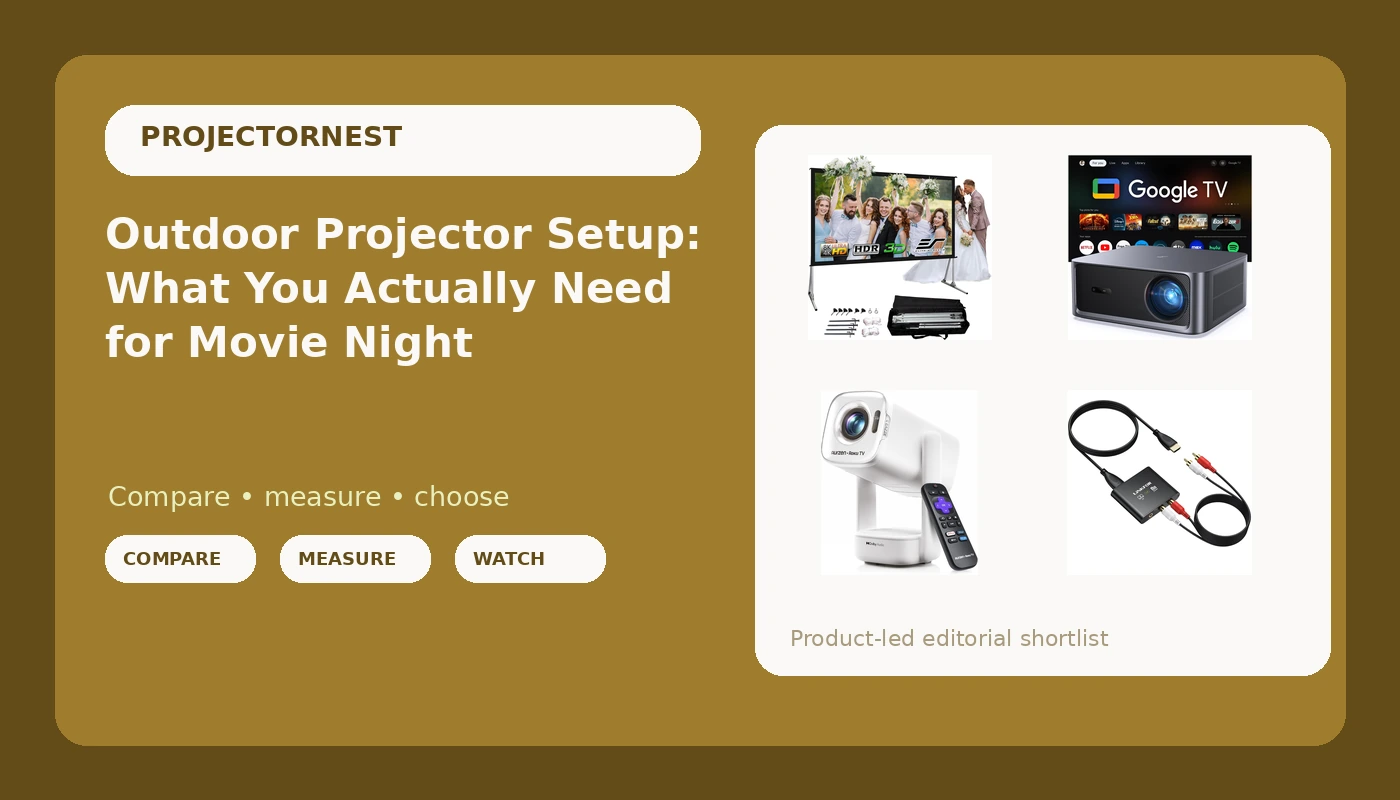
This guide covers the four jobs an outdoor setup has to fill: put a bright enough image on a surface, use a surface worth projecting onto, power the gear where there is no wall outlet, and get sound out of the projector and into something a group of people can actually hear. Each product below handles one of those jobs, and the sections after the table explain how to choose between them.
Related: Ambient Light and Projector Contrast: What You Can Actually Fix →
Quick answer
An outdoor projector setup needs brightness first, a real screen second, and a separate audio path third. Brightness should be quoted in ANSI lumens, not just "lumens," because ANSI is a defined measurement standard and the vaguer number is marketing. A portable screen with its own stand beats a sheet or a white wall because it stays flat, sits at the right size for your throw distance, and packs away. Audio should stop coming from the projector's built-in speaker once more than two people are watching. The four products here cover those jobs at different scales, and the yard you actually have decides which one matters most.
Four useful options
| Model | Best fit | What stands out |
|---|---|---|
| HAPPRUN 3000 ANSI Lumens Outdoor Projector with Official Google TV | A backyard where the projector is also the streaming device | Brightness quoted in ANSI lumens, Google TV built in |
| Aurzen Roku TV D1R air USB-C Powered Smart Portable Outdoor Projector White | Patios, small yards, and trips where USB-C power is easier than an outlet | Roku TV built in, USB-C powered, compact body |
| LiNKFOR 192KHz HDMI eARC/ARC Audio Extractor, HDMI to RCA & 3.5mm Converter | Sending projector audio to an amp, powered speakers, or headphones | HDMI eARC/ARC input with RCA and 3.5mm outputs, CEC volume control |
| Elite Screens Yard Master 2, 120-inch Outdoor Portable Fast Folding Projector Screen w/ Stand | A repeatable 120-inch image that packs away between movie nights | 120-inch 16:9 folding screen with stand, rear projection surface, 2-year warranty |
The main projector: HAPPRUN 3000 ANSI Lumens Outdoor Projector with Official Google TV
Here is the honest caveat: ANSI lumens are a specification from the brand, not a measurement I took in your yard. What the ANSI standard buys you is a number defined across a grid of readings on the image, which makes it comparable between brands in a way that "5,000 lumens" never is. Do the arithmetic yourself before you buy. Divide the quoted ANSI lumens by the screen area in square feet, and remember that a 120-inch 16:9 image is roughly 43 square feet, so a 3,000 ANSI lumen projector is spreading its output over a lot of surface. Then subtract for ambient light, because every porch light and street lamp is competing with that output. Two more things to check before committing: the throw ratio, since 1.2 means 1.2 feet of distance per foot of image width, and the fan noise at full power, which is the spec nobody prints and the one you notice in a quiet scene. Google TV also needs decent Wi-Fi outdoors, so plan for that if your yard is far from the router.
The portable projector: Aurzen Roku TV D1R air USB-C Powered Smart Portable Outdoor Projector White
USB-C power is the interesting part, and it is also the part that trips people up. A projector pulling from USB-C needs a source that can actually deliver the wattage it asks for, and not every power bank or wall brick will do it, so check the output rating on whatever you plan to plug in. The other trade-off is brightness class. Smaller, portable projectors are not built to fight a streetlight across a 120-inch image, and expecting them to is how people end up disappointed. Give this one a genuinely dark setting and a 60 to 80 inch image, seat everyone closer, and it does the job it was designed for. It is the right answer for a family that wants a movie in the yard twice a month without running cable, and the wrong answer for someone trying to build a permanent outdoor theater.
The audio bridge: LiNKFOR 192KHz HDMI eARC/ARC Audio Extractor, HDMI to RCA & 3.5mm Converter
Outdoors, sound is a bigger problem than picture, and almost nobody budgets for it. A projector's built-in speaker is aimed at a person sitting three feet away in a quiet room. Put eight people in a yard with a fan running and crickets competing, and dialogue turns to mush. This extractor exists so you can reuse gear you already own. A stereo receiver with RCA inputs, a set of powered bookshelf speakers, or a soundbar with an analog input all become options, and the CEC volume control means one remote handles the level instead of two. Two practical warnings: confirm the projector's HDMI port actually supports ARC or eARC output before buying, and expect the HDMI handshake chain (source, projector, extractor) to need a minute of patience the first time you set it up. Lip sync is worth checking on day one, because a delay outdoors is more obvious when the screen is 12 feet wide.
Prices and availability may change. Product images, names, and retailer links are matched to verified listings. No current price, rating, stock status, or measured result is stated here without current evidence.
The screen: Elite Screens Yard Master 2, 120-inch Outdoor Portable Fast Folding Projector Screen w/ Stand
The rear projection surface is the detail worth understanding, because it solves a specific outdoor problem. With front projection, the projector sits in the audience, the beam crosses the seating area, and anyone who stands up casts a shadow across the picture. Rear projection lets you hide the projector behind the screen, which also keeps the light source away from guests and keeps the noise behind you. The trade-offs are space and setup. A 120-inch screen needs a footprint, a rear projection layout needs room behind it, and a portable frame does not tension like a fixed screen, so check for wrinkles before the guests arrive. Wind is the other variable, so plan on staking or weighing the stand. What you get in return is a consistent image every time, instead of a surface that changes with whichever wall or sheet was available.
Why ANSI lumens and screen size decide outdoor viewing
ANSI lumens are measured across a grid of points on the projected image, averaged, and reported as a single figure. That is why the word "ANSI" matters more than the number next to it. A listing that says 8,000 lumens without naming the standard is telling you nothing you can compare, and a listing that says 3,000 ANSI lumens is at least speaking a language every brand shares. When you compare two projectors, compare the ANSI figure, then compare the screen size you plan to use, because image area grows fast. Doubling the diagonal roughly quadruples the area, which means the same projector at 120 inches is spreading its output over four times the surface of a 60-inch image.
Ambient light is the multiplier that no spec sheet can capture. A projector that looks punchy in a dark basement can look washed out in a yard with one porch light on, and no contrast ratio marketing number fixes that. Real contrast is what your eyes see in your room with your lights, which is why the cheapest upgrade to any outdoor setup is turning things off. Screen gain and screen color matter here too. Outdoor screens are often a darker gray than indoor ones, which sacrifices some brightness in exchange for rejecting ambient light and holding black levels. Match the screen to the projector and the light you cannot control, not to the biggest number on a box.
What an audio extractor actually does in the chain
HDMI carries video and audio together, which is convenient until you want the audio somewhere else. ARC and eARC are the return channel features that let a display or projector send audio back down the HDMI cable to a soundbar or receiver. An audio extractor sits in that path, takes the audio stream, and converts it to analog outputs: RCA for a receiver or amplifier, 3.5mm for powered speakers or headphones. The 192 kHz figure refers to the sample rate the unit supports on its digital side, which is well beyond what any movie soundtrack needs and more relevant if you also use it for music.
The reasons to add one are practical. You already own a receiver with RCA inputs, and replacing it makes no sense. You want headphones after 10 p.m. so the neighbors stay friendly, and the projector has no headphone jack that works the way you want. You want sound from two places at once, which the simultaneous output supports. CEC handling means the volume buttons on the projector remote can control the connected device rather than doing nothing. Plan the audio path before you buy the projector, not after, because it determines which ports you need.
- Measure the throw distance you actually have, then convert it with the throw ratio to find the largest image your space supports.
- Decide how dark your yard gets, and be honest about the porch light you are not willing to turn off.
- Pick the screen size and surface before the projector, since the screen sets the brightness requirement.
- Plan power for every device, including the audio gear, and check USB-C output ratings if you go portable.
- Set up once at night with real content and real lights on, then adjust before inviting anyone over.
Practical guidance for a real outdoor setup
- Test with the lights you will actually use, not the darkest possible scenario, because that is the setup you will live with.
- Buy the screen before you upgrade the projector if you are currently projecting onto a sheet or a wall.
- Keep audio off the projector's built-in speaker for groups, and route it through an amplifier or powered speakers.
- Run and tape down cables before guests arrive, since trip hazards and tugging are what end a movie night early.
- Have a wind plan for the screen and stand, and check the surface for wrinkles during setup rather than mid-movie.
- Sit closer for a smaller image. A sharp 70-inch picture beats a dim 120-inch one every time.
Which option should you choose?
Choose the HAPPRUN 3000 ANSI Lumens Outdoor Projector with Official Google TV when you want one device that handles brightness and streaming, and you have a yard dark enough to support a large image. Choose the Aurzen Roku TV D1R air USB-C Powered Smart Portable Outdoor Projector White when portability and USB-C power matter more than raw output, and you are willing to keep the image smaller. Choose the LiNKFOR 192KHz HDMI eARC/ARC Audio Extractor when you already own speakers or a receiver and want to use them instead of the projector's built-in driver. Choose the Elite Screens Yard Master 2, 120-inch when you want a repeatable large image with a stand, and you have the space for rear projection.
One caveat applies to all four: everything above is based on listed specifications, not on measurements taken in your yard, and no brightness claim survives an unmanaged streetlight. Check the return window before you commit, and treat the first setup as a test run.
The bottom line
A great outdoor projector setup is less about the projector than most shoppers expect. Get a surface that reflects light back, get a projector whose brightness is quoted in a standard you can compare, and get the sound away from the projector's built-in speaker. The four products here map to those jobs: the HAPPRUN for brightness and built-in Google TV, the Aurzen for USB-C portability and Roku TV, the LiNKFOR to move audio into real speakers, and the Elite Screens Yard Master 2 for a 120-inch portable surface. Start with whichever job is currently failing in your yard, fix that one, and let the rest of the setup follow.