Most people buy a projector, mount it, turn it on, and then wonder why the picture looks like milk poured on a wall. A bright room projector setup fails for one reason nine times out of ten, and it is almost never the projector. It is the room. West-facing windows, a white ceiling bouncing light straight back onto the screen, a lamp on a side table, a hallway light someone forgot to kill. Fix the room first and a modest projector looks great. Ignore the room and a premium laser looks broken.
I have been installing and calibrating projectors for 15 years, most of them in and around Raleigh, and the calls I get about "the projector is dim" are almost never about the projector. They are about light. So here is the order of operations I actually use on a job: control the light, measure the throw, match brightness in ANSI lumens to the room, then tune the picture. The last step is the one everybody starts with, which is exactly why they end up disappointed.
Why you should trust me
I have hung projectors in finished basements, bonus rooms over garages, and dedicated theaters with acoustic treatments on the walls. I calibrate with a meter, not with my eyes, because eyes adapt to whatever is on the wall and lie to you within about 90 seconds. Every projector I hand back to a client gets a grayscale sweep and a Rec.709 pass before I call the job done, and I keep the notes on what each room could and could not handle.
That history is why I care less about the marketing copy on the box and more about four things: real brightness, native resolution, the lens, and fan noise. A projector that nails those four is a projector you will still like in year three.
How I judged these two
I want to be straight with you about method. What follows is based on the published specs and the criteria I check on every install, not on a bench test of these exact two units in my basement. I have not torn either of these down. If you want lab numbers, wait for a measurement site. If you want to know which of these two will survive your living room, that I can tell you, because the deciding factors are all in the spec sheet.
Here is what I actually weigh:
- ANSI lumens. The only brightness number that means anything. If a brand quotes lumens without ANSI, assume the worst and move on.
- Native resolution versus input support. A projector that accepts a 4K signal and a projector that resolves 4K are different products. Both are legitimate. They are not the same thing.
- The lens. Zoom and shift, ideally motorized. A fixed lens forces you to move furniture to move the image.
- Refresh and input lag. HDMI 2.1 and 120 Hz matter if a console lives in the room.
- Fan noise. A projector you can hear over quiet dialogue is a projector you stop using.
The projectors worth mounting
Both of the units below will hold an image in a room with some light in it, which is the bar most people actually need to clear. Which one you buy comes down to whether you are building a theater or filling a living room.
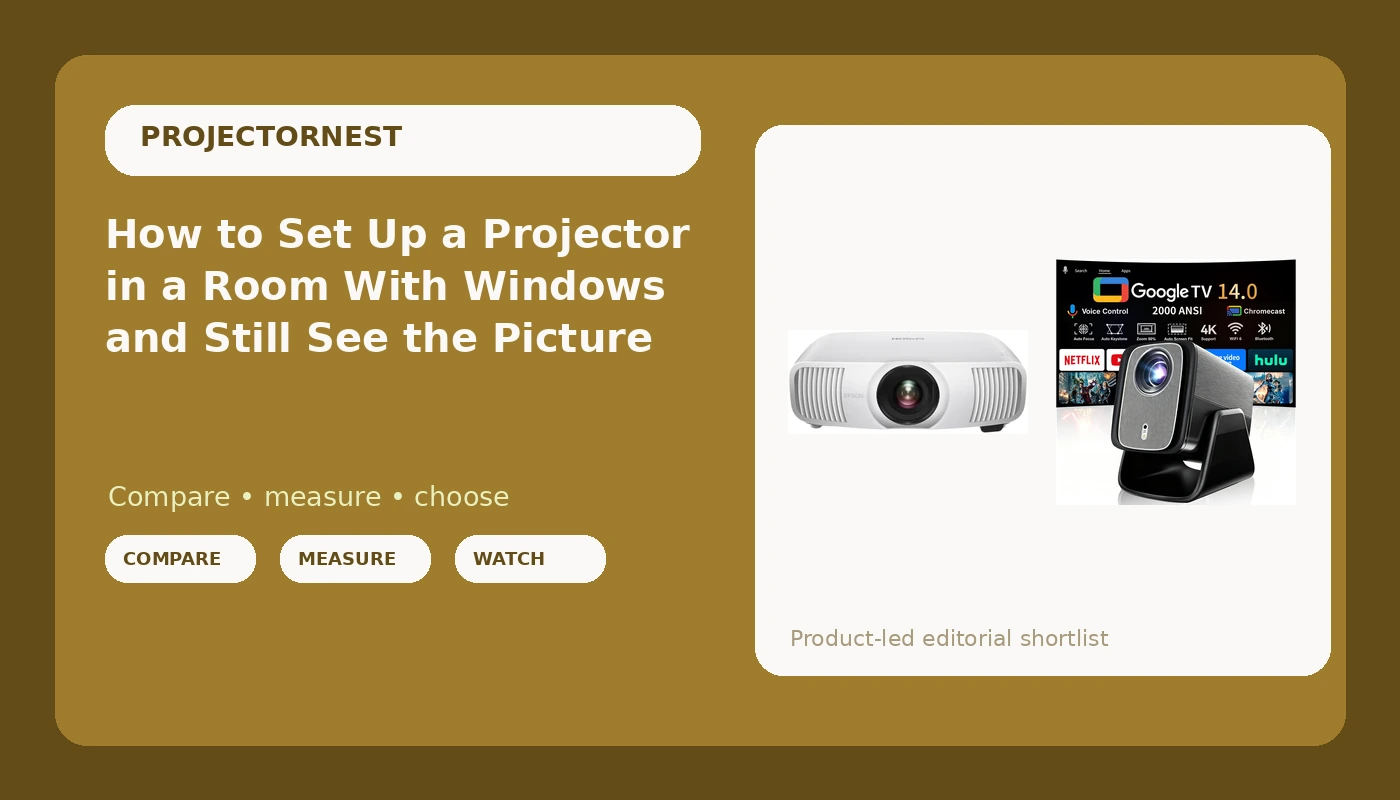
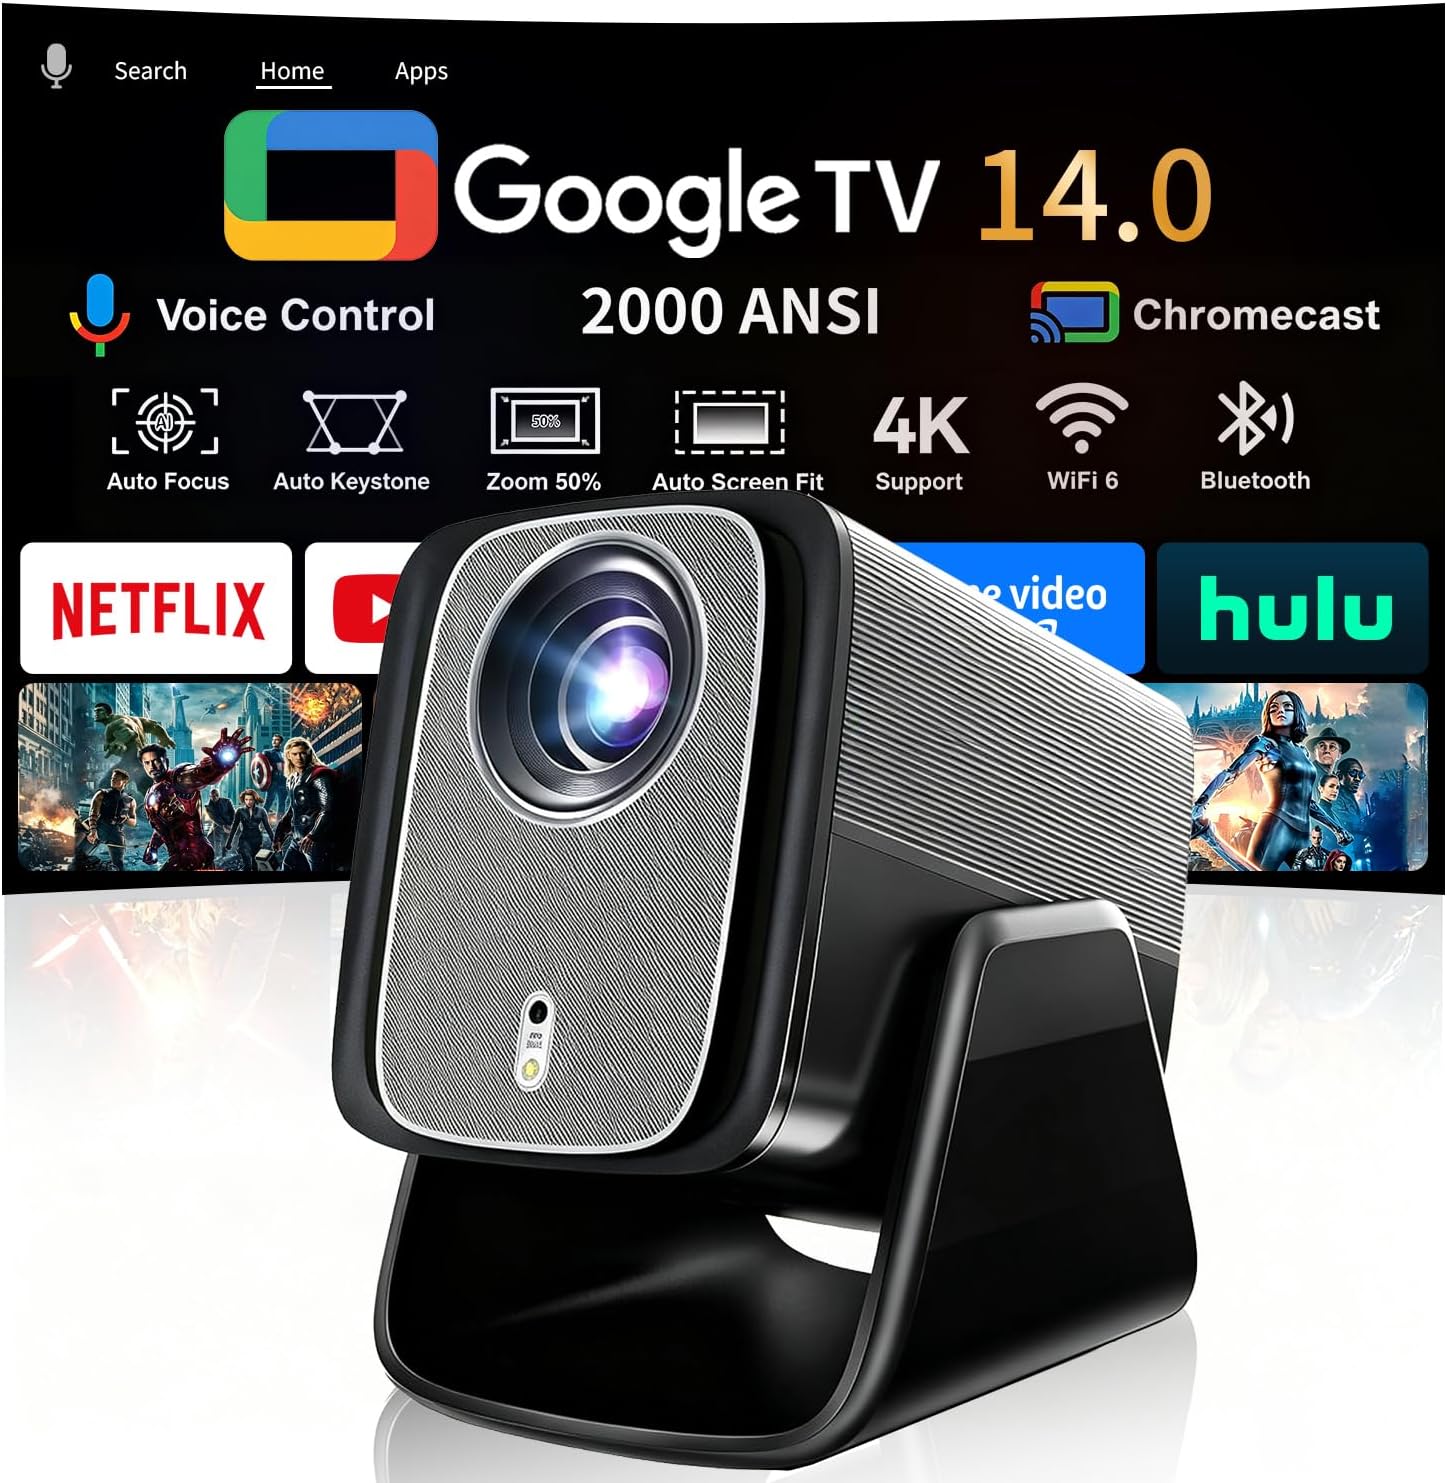
Budget pick: Google TV-Licensed Smart Projector with WiFi and Bluetooth, 2000 ANSI Native 1080P Projector, 4K/8K Input Support, Dual 36W Dolby, Auto Focus, 125% sRGB, HDR10, 90° Stand, 200" Display, X5 Pro
 Visit on Amazon →
Check current Amazon price. Two specs put this one on the list, and the first is the 2,000 ANSI lumens figure. That is a real measurement quoted with the standard, not a "brightness" claim, and 2,000 ANSI is enough to keep an image readable in a living room with the blinds closed and the lights on a dimmer. It will not fight direct afternoon sun through a bare window. Nothing at this tier will.
The second is the native 1080p panel. Native matters. There is a whole category of cheap projectors claiming 4K that are running 1080p or lower chips and hoping you never check. This one tells you it is 1080p native and supports 4K and 8K input, which means it accepts those signals and scales them down. That is an honest description of what is happening, and for streaming and console games at typical seating distance, a good 1080p image looks better than a bad "4K" one.
The rest of the package is aimed at people who want one box and one cable. Google TV is licensed and built in, so you are not buying a streaming stick on day one. The dual 36W Dolby speakers mean you can run it without a soundbar for casual viewing, though a soundbar will still beat it for movies. Auto focus handles the setup step most people get wrong, the 90 degree stand lets you point it at a ceiling or a wall without a mount, and 125% sRGB coverage with HDR10 support gives you a reasonably saturated image once you stop using the vivid preset.
Flaws but not dealbreakers: The 200 inch maximum is a spec sheet number, not a recommendation. Blow the image up that large and the same 2,000 lumens spread across four times the area, so the picture dims fast. Keep it between 100 and 120 inches and it stays punchy. Auto focus is convenient, but if you mount it permanently, check a text-heavy menu after the first run and fine tune by hand if the corners look soft.
Anyone in an apartment, a rental, or a multi-purpose room who wants a big picture without a construction project should start here.
Upgrade pick: Epson Home Cinema LS11000 4K PRO-UHD Laser Projector, HDR, HDR10+, 2,500 Lumens Color & White , HDMI 2.1, Motorized Lens, Lens Shift, Focus, Zoom, 3840 x 2160, 120 Hz, Home Theater, Gaming
 Visit on Amazon →
Check current Amazon price. This is the other end of the scale, and the feature that sells it to me on an install is not the resolution. It is the motorized lens with lens shift, focus, and zoom. That combination means I can put the projector where the ceiling joists actually are, not where a perfect throw distance would put it, and square the image from the remote. No keystone. No cropping. No softened corners. Lens shift is the single most underrated spec in home projection, and it is the difference between a clean install and one that limps.
The light source is laser, which means no lamp to replace and no slow dimming curve eating your brightness over a couple of years. The 2,500 lumens figure is quoted as color and white, which is a stricter way to state brightness than a single white-lumen headline number, and it gives this projector enough headroom to handle a room that is not fully blacked out.
On the resolution question: this is a 4K PRO-UHD projector using pixel shifting to reach 3840 x 2160. I will defend pixel shifting all day. It works. What does not work is a cheap DLP claiming 4K on a 1080p chip with a wobble you can see. This is a different class of engineering, and at normal seating distance you are getting a genuinely detailed 4K image.
HDMI 2.1 with 120 Hz support matters if a console or a gaming PC is part of the plan. High refresh at low lag is what keeps a projector usable for anything faster than a movie. And the HDR10+ support means the tone mapping adjusts scene by scene rather than applying one curve to the whole film.
Flaws but not dealbreakers: It is a premium purchase, and it is heavier than a lifestyle projector, so budget for a mount rated well above its weight and a second pair of hands on install day. It also rewards a real screen. Point it at a painted wall and you are leaving performance on the table.
Anyone building a room they intend to keep for a decade, especially with a console in it, should look here first.
The setup workflow, step by step
Now the part you came for. This order works whether you bought the budget unit or the laser.
Step one: Measure the throw before anything else. Throw ratio is distance divided by image width. A 1.2 throw ratio means 1.2 feet of distance for every foot of image width, so a 100 inch wide image needs about 10 feet. Measure your room, check the projector's throw ratio, and confirm the number works before you buy. This one step prevents most returns.
Step two: Audit the light at the hour you actually watch. Not at noon on a Saturday when you are planning. At 8 p.m. on a Tuesday when you actually sit down. Note every light source, including the one in the hallway and the reflection off a glossy coffee table. Then fix what you can: blackout curtains, a darker paint behind the screen, lamps on dimmers, a rug that is not white.
Step three: Pick your screen size from your seating distance. Sit where you will sit. If the screen fills more than about 40 degrees of your vision, you will be turning your head during action scenes. Bigger is not automatically better, and a smaller image is a brighter image.
Step four: Place the projector so the lens is level with the screen. Ideally the lens sits at or slightly above the top of the screen, and the image is squared with lens shift, not keystone. Keystone correction crops pixels and softens the picture. Use it only if the room gives you no choice.
Step five: Run one source at a time. Connect your primary device, get a picture, then add the next. If you are running 4K at high refresh, use a cable rated for the bandwidth. Half the "my projector is broken" calls I get are a five dollar HDMI cable from 2014.
Step six: Get out of the vivid preset. Switch to the most neutral picture mode the projector offers, then turn off any auto brightness or dynamic contrast feature. Auto brightness reads the room and crushes your blacks in a dark scene. It is the single biggest lie a projector tells.
Step seven: Focus, then check the corners. If it has auto focus, run it, then put up a text-heavy menu and look at the four corners. If they are soft, adjust by hand. A permanently mounted projector only needs this once.
Step eight: Live with it for a week before you change anything else. Write down your settings. Most people spend the first week over-tuning, then forget what the defaults were. Give your eyes time to adjust to a correct image, because a correct image looks flat and dull for the first two days if you came from a torch-mode preset.
The competition and why it lost
The category I would avoid entirely is the sub-1,000 ANSI lumen portable. They are fine in a dark bedroom pointed at a bedsheet, and they are miserable in any room with a window. If the spec sheet does not give you an ANSI number, that is your answer.
Short-throw units are a legitimate alternative if your room is small and you cannot get 10 feet of distance. They solve a geometry problem, and they usually trade away some brightness and contrast to do it. If your room is deep enough for a standard throw, take the standard throw.
Ambient light rejecting screens, ceiling mounts, and soundbars all belong to this conversation, and they each have their own guide on this site. They are not the deciding factor in whether your picture survives daylight. Brightness and room control are.
What this all costs
Think in tiers rather than numbers, because prices move. The smart projector is the entry-to-mid tier: one box, no streaming stick, no lamp to replace, and a picture that holds up in a controlled living room. The Epson is the premium tier: laser light source, motorized lens, lens shift, high refresh, and enough brightness to be less fussy about the room. Check current Amazon price on both before you decide, and factor in the screen, the mount, and cables, which together can add a meaningful percentage to the total.
Then do the math that actually matters. Divide the total by the number of evenings you will use it over five years. A projector that gets used four nights a week is a bargain at almost any price. A projector that gets used twice a month because the room fights it is expensive no matter what you paid.
That is the job. Control the light, measure the throw, buy the brightness your room demands, and then tune it once. Do that and you stop thinking about the projector, which is exactly the point.