Most projector disappointments are placement problems, not projector problems. Get the projector ceiling mount in the wrong spot, or hang the projector at an angle you have to rescue with keystone correction, and even a good unit looks soft and uneven. Get the placement right and a mid-range 1080p projector in a room you can darken will beat a far more expensive one sitting crooked on a coffee table.
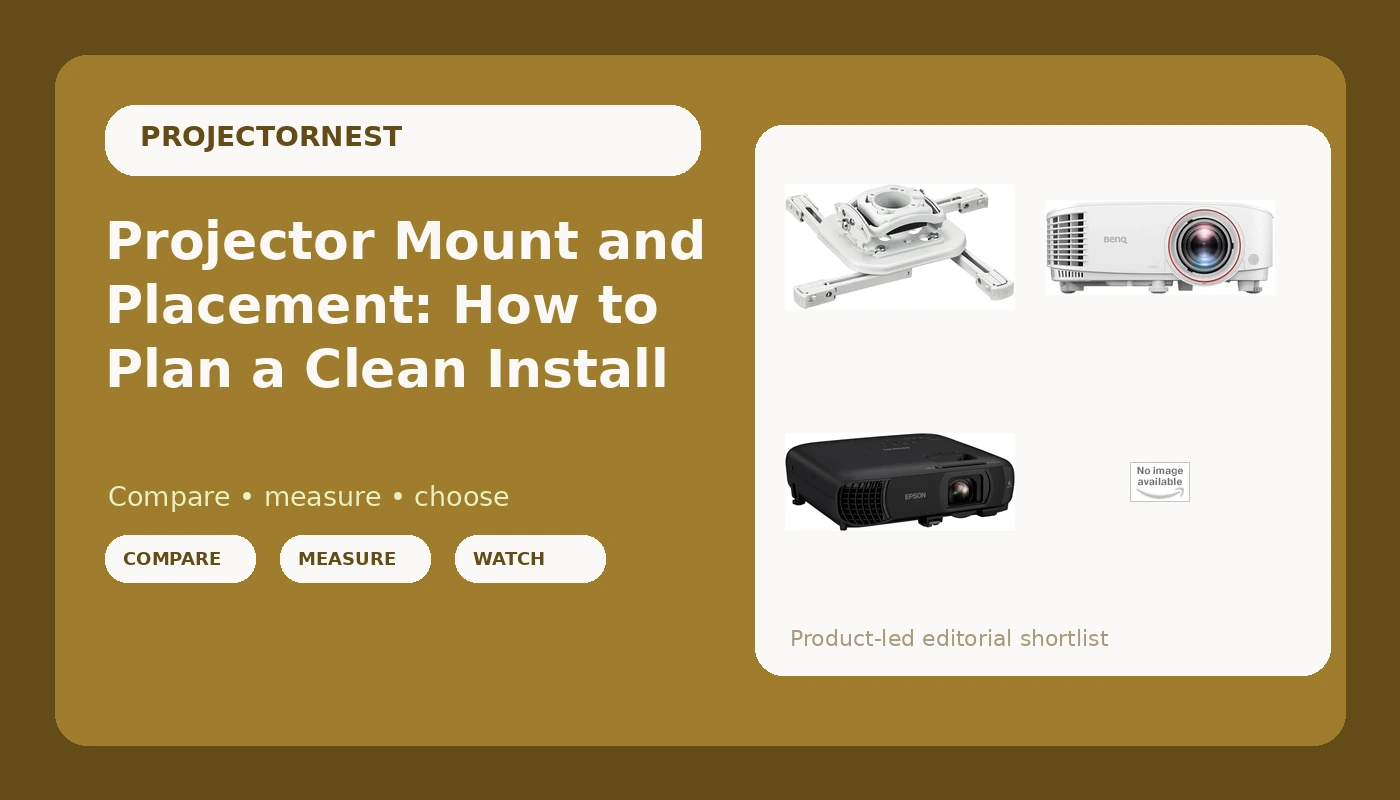
This explainer covers the decisions that actually matter when a projector goes on a ceiling: throw ratio and distance, screen size, mounting pattern, adjustment range, and the real difference between a short throw model and a standard throw one. It also looks at four specific options, a short throw home projector, a bright 3LCD business projector, a basic universal mount, and a locking mount built for installs that have to stay put.
Related: Why ANSI Lumens Matter More Than Contrast Ratio Claims →
Quick answer
Placement first, hardware second. Decide the screen size you want, use the projector's throw ratio to find the distance range that produces that size, then confirm the ceiling can hold the projector in that spot. Only after that should you choose the mount.
A short throw projector such as the BenQ TH671ST is the practical answer in a small room or a room where seating sits close to the screen, because it needs much less distance to make a large image. A standard throw model such as the Epson Pro EX9270 needs more room behind the seating, which makes it easier to place in a long room and a common choice for bright, multipurpose spaces. On the hardware side, a plain universal mount handles most straightforward ceiling installs, while a locking mount is the one to look at when the projector lives in a shared or public space.
Four useful options
| Model | Best fit | What stands out |
|---|---|---|
| BenQ TH671ST 3000 Lumens 1080p Short Throw Home Entertainment Projector | Small rooms and short seating distances | Short throw lens, 1080p resolution, 3000 lumens listed |
| Universal Projector Ceiling Mount - White | Straightforward ceiling installs | Universal fit rather than a model-specific bracket, white finish |
| Epson Pro EX9270 Wireless 1080p 3-Chip 3LCD Business Projector | Bright rooms, business and multipurpose spaces | Three-chip 3LCD engine, wireless connectivity, 1080p |
| Chief RSMBUW Rpa Mini Elite Universal Projector Mount Lock B White | Installs that need security and a fixed, tuned position | RPA Mini Elite series, locking design, white finish |
For small rooms: BenQ TH671ST 3000 Lumens 1080p Short Throw Home Entertainment Projector
The trade-off with short throw is that the projector sits close to the screen, which usually means it is mounted above and slightly in front of the seating. That puts it nearer to heads, near the screen wall, and closer to any light source on that side of the room. It also means small changes in position move the image a lot, so the mount needs to hold its setting. Keystone correction can clean up a trapezoid on screen, but it does that by rescaling the image, and optical alignment always looks better than digital repair. Resolution is 1080p here, not 4K, which is the honest expectation for this class of home entertainment projector.
For a simple ceiling install: Universal Projector Ceiling Mount - White
Universal is a useful word, but it is not a promise that the bracket fits everything. Before buying any mount, check two numbers: the projector's mounting hole pattern and its weight. Most projectors use a small set of standard patterns, and most universal brackets are built around those, but the weight rating still has to cover your model. The second thing to check is adjustment range. A mount with limited tilt and roll is fine when the ceiling is flat and the projector sits exactly where you want it. It becomes a problem when the ceiling is sloped, when a joist forces the bracket off center, or when you need a few degrees of correction you cannot get.
For bright rooms and business use: Epson Pro EX9270 Wireless 1080p 3-Chip 3LCD Business Projector
The 3LCD part matters more than people expect. A three-chip LCD engine produces color without a spinning wheel, so viewers who notice rainbow fringing on single-chip DLP projectors generally do not see it here, and color brightness holds up alongside white brightness. The flip side is that business projectors are tuned for text, presentations, and rooms with ambient light, not for black level in a dark theater. If your plan is movie night in a blacked-out basement, contrast and shadow detail are the trade-offs to weigh. If your plan is a family room with windows, a conference room, or a classroom, this class of projector is aimed squarely at that job.
For a secure, tuned install: Chief RSMBUW Rpa Mini Elite Universal Projector Mount Lock B White
The case for a mount like this is not picture quality. It is that the projector is the most vulnerable piece of hardware in the room, hanging where people walk, where cleaners reach, and where a janitor's ladder can knock it out of alignment. A locking mount addresses theft and tampering, and the more rigid platform is designed to hold an alignment once it is set. The trade-off is straightforward: this costs considerably more than a basic universal bracket, so it makes sense when the projector is a real investment, when the room is shared, or when you never want to touch the alignment again. In a private basement theater with one careful owner, the cheaper bracket usually wins.
Prices and availability may change, and listings vary over time. Product images, names, and retailer links should always be checked against the listing before you buy, and no current price, rating, stock status, or measured result is stated here.
How throw ratio decides where the projector goes
Throw ratio is the number that answers the only placement question that really matters: how far back does the projector have to sit to make the image size I want? It is expressed as a ratio of distance to image width. A throw ratio of 1.2 means 1.2 feet of distance for every foot of image width. Lower numbers mean the projector sits closer to the screen.
Do the math with width, not diagonal. A 100-inch diagonal 16:9 screen is about 87 inches wide. At a 1.2 throw ratio, that is roughly 104 inches of distance, or about 8.7 feet. At a short throw ratio around 0.5, the same 100-inch image needs only about 44 inches, under four feet. That single difference explains why short throw models exist and why they cost more per lumen.
Two more terms belong in the same conversation. Vertical lens shift moves the image up or down optically, without degrading it, and it is what lets you mount a projector above the top of the screen and still fill the screen properly. Keystone correction moves the image digitally, by rescaling pixels, and it should be a last resort rather than a plan. If you find yourself needing a lot of keystone, the projector is in the wrong place.
What a mount actually has to match
Mounts are simple hardware, but they have to match three things: the projector's mounting hole pattern, the projector's weight, and the ceiling. The hole pattern determines whether the bracket bolts on at all. The weight rating determines whether it stays up. The ceiling determines how you attach it, which usually means finding a joist, or using appropriate anchors or a concrete fixing when there is no wood to bite into.
Then there is the part most buyers skip: adjustability. Roll, pitch, and yaw are the three axes you will want to fine-tune after the projector is hanging, and a mount with limited range can leave you stuck with a slightly tilted image and no way to fix it without drilling new holes. The final piece is the drop. A short drop keeps the projector close to the ceiling and out of sight. A longer drop can clear a soffit, a beam, or the top of a screen, but it also puts the projector closer to eye level and makes it easier to bump.
- Measure the room and choose the screen wall, accounting for where people sit and where the windows are.
- Pick a screen size, then use the projector's throw ratio to calculate the distance range that produces it.
- Inspect the ceiling: joist locations, obstructions, the drop you need, and where power and cables can reach.
- Match the mount to the projector's hole pattern and weight, and confirm it has enough roll, pitch, and yaw adjustment.
- Hang the projector, align it optically first, use keystone only as a final nudge, then calibrate the picture.
What to check before you buy
- Control the light before you upgrade the hardware. Curtains, blinds, and a darker wall behind the screen do more for perceived contrast than a step up in projector class.
- Verify the mounting hole pattern and the weight of your projector against the mount's specification before ordering.
- Plan the power outlet and the cable path first. A projector with no outlet within reach becomes an extension cord across the ceiling.
- Prefer optical alignment and lens shift over heavy keystone correction, and treat a large keystone value as a sign the placement is wrong.
- Budget for the mount and the screen as part of the projector purchase, not as an afterthought. Both affect the final image more than most spec sheet upgrades.
Which option should you choose?
Choose the BenQ TH671ST 3000 Lumens 1080p Short Throw Home Entertainment Projector when the room is small, seating is close to the screen, or you cannot get enough throw distance for a standard model. Choose the Universal Projector Ceiling Mount - White when you want a straightforward ceiling hang in a private room and you have confirmed the hole pattern and weight rating. Choose the Epson Pro EX9270 Wireless 1080p 3-Chip 3LCD Business Projector when ambient light is part of the room and the projector will be used for presentations, sports, or daytime viewing as much as movies. Choose the Chief RSMBUW Rpa Mini Elite Universal Projector Mount Lock B White when the projector is a real investment in a shared space and you want security plus an alignment that holds.
One caveat applies to all four. Nothing here substitutes for checking the current listing, the specifications, and the mounting requirements against your own room. Throw distance in particular varies by model and by how the lens is set, so confirm the numbers for your specific projector and screen size rather than trusting a general rule of thumb.
The bottom line
The order of operations is the whole game. Decide the screen size, calculate the throw distance, check the ceiling, and only then buy the mount. Short throw buys flexibility in tight rooms, standard throw is easier to live with in a long room, and a bright 3LCD business projector is the right answer when the lights cannot go off. The mount is the cheapest part of the install and the one that decides whether you ever have to get the ladder out again, so match it to the projector's pattern and weight and give yourself enough adjustment to get the image square without leaning on keystone.