Most projector disappointments are not projector problems. They are geometry and light problems. You buy a projector, bolt it to the ceiling, and then discover the image is too big for the wall, the top edge is keystoned into mush, or the picture vanishes the moment someone turns on a lamp. Fixing that means planning a projector ceiling mount and brightness together, before anything ships, because those two choices set your screen size, your seating distance, and how much room light the image can survive. What follows is the order I would use: pick the projector by its real brightness, pick the mount by how much adjustment it gives you, and do the arithmetic on paper before you drill anything.
Related: How to Measure Throw Distance Before You Buy a Projector →
Quick answer
Brightness decides whether the image survives your room, and the mount decides whether you can aim it without wrecking the picture. If the room has windows or lamps you cannot kill, look for a projector rated at 2,000 ANSI lumens or more, because that is the only brightness figure that follows an industry standard. If the room goes fully dark, almost any modern projector works and your money is better spent on the mount, the screen, and a calibration disc. Match the mount to your projector's weight and to how much zoom and vertical shift you have, since fine mechanical adjustment beats digital keystone correction every time. On the hardware side, a universal ceiling bracket covers a simple install, and a locking mount covers one where the projector has to stay exactly where you put it.
Four useful options
| Model | Best fit | What stands out |
|---|---|---|
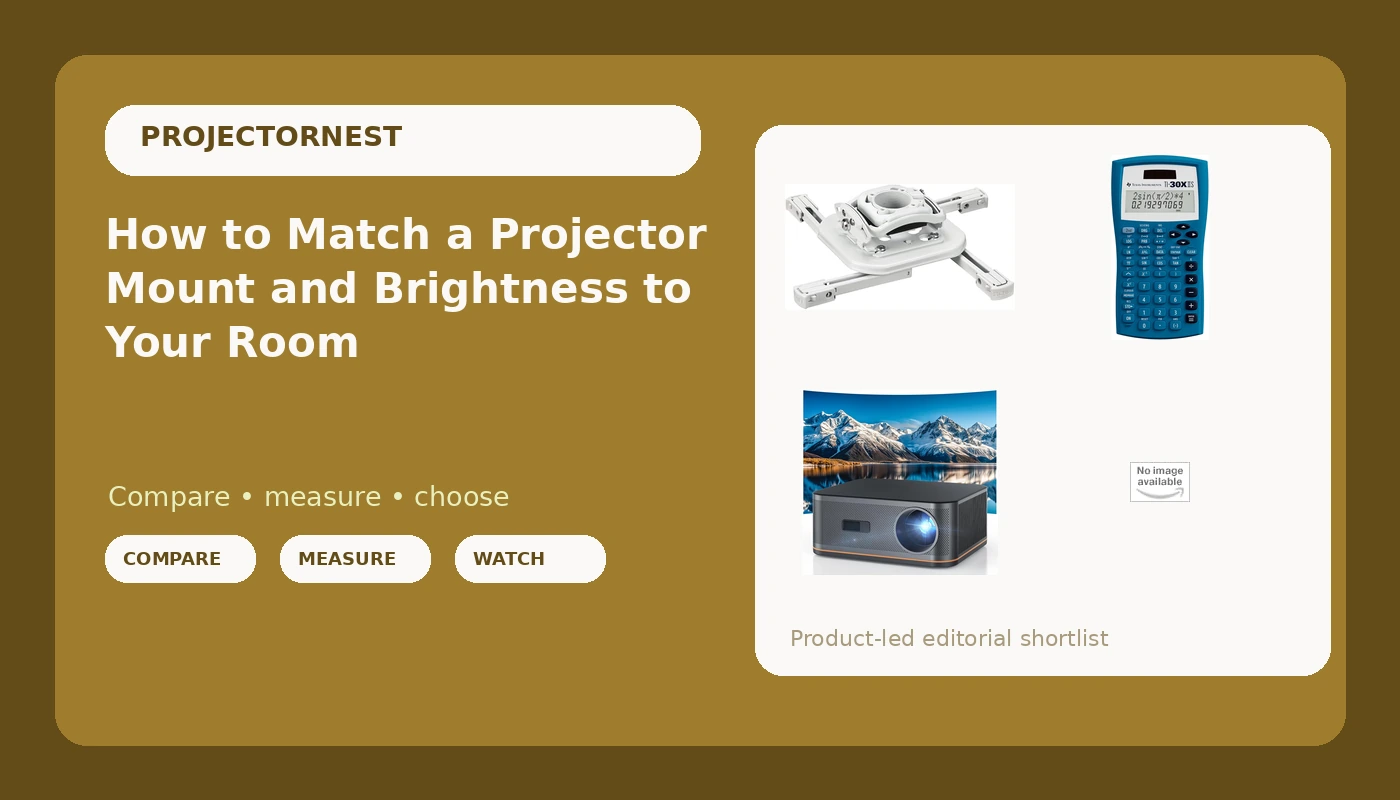
| HAPPRUN 2000 ANSI 4K Decoding Projector with WiFi and Bluetooth, Auto Focus | Mixed-light living rooms | Listed at 2000 ANSI lumens, with 4K decoding, WiFi, Bluetooth, and auto focus |
| Universal Projector Ceiling Mount - White | Straightforward ceiling installs | Universal bracket design in a white finish that blends with a light ceiling |
| Chief RSMBUW Rpa Mini Elite Universal Projector Mount Lock B White | Installs that need security and adjustment | RPA Mini Elite design with a locking feature, in white |
| Texas Instruments TI-30XIIS Scientific Calculator, Blue | Doing the throw and screen math | Scientific functions for the ratios and conversions an install requires |
The projector: HAPPRUN 2000 ANSI 4K Decoding Projector with WiFi and Bluetooth, Auto Focus
The ANSI figure is the part that matters here. Plenty of projectors advertise "4K" and a big lumen number, and the lumen number turns out to be measured in a way nobody else uses. ANSI lumens are measured to a published standard, so a 2000 ANSI lumen claim is at least comparable to other projectors making the same claim. That puts this one in the range where a living room with blinds can work, provided you accept that daytime viewing is a compromise and evening viewing is the real target. Auto focus is a genuine convenience for a ceiling or shelf install, because it removes the ritual of climbing up with an allen key after every bump. WiFi and Bluetooth mean the projector can be the only box in the room, which matters if you are mounting it and want one cable run, not four.
The everyday mount: Universal Projector Ceiling Mount - White
A ceiling mount is not glamorous, and that is exactly why people under-buy it. The failure mode is always the same: the bracket holds the projector but gives you almost no tilt or roll, so the image sits crooked, and the installer "fixes" it with keystone correction. Keystone shrinks and resamples the picture, so you lose resolution and gain soft edges. If you are mounting to a flat ceiling and the projector's own feet or threaded inserts line up with the bracket, a universal mount like this one is all you need. Check the weight rating against your projector and, more importantly, check that you are anchoring into a joist or a proper ceiling anchor, not just drywall. The white finish is a small thing that makes a large difference in a finished room.
The locking mount: Chief RSMBUW Rpa Mini Elite Universal Projector Mount Lock B White
This is the mount category that gets spec'd in classrooms, conference rooms, and any space where someone other than you might touch the projector. The lock is the headline feature: once the projector is dialed in, it stays dialed in, and a curious hand or a bump from a ladder does not send you back up to re-aim. That matters more than it sounds. Every time a projector moves, you redo focus, redo the zoom, and redo the geometry, and on a ceiling install that is a twenty-minute job with a ladder. The trade is cost and, in some cases, a little more bulk at the ceiling. For a dedicated theater where nobody else touches anything, the simpler universal bracket is fine. For a room with traffic, a locking mount earns its place.
The math tool: Texas Instruments TI-30XIIS Scientific Calculator, Blue
This is the part of a projector install nobody plans for. Screen size, throw ratio, mounting height, and lens offset are all math, and a phone calculator in a dark room with gloves on is a bad interface. A scientific calculator gets you the inverse trig functions for working out vertical offset angles and the fraction conversions for turning a diagonal measurement into width and height. If you would rather not do any of this by hand, every projector manual publishes a throw distance chart for its lens, and that chart is faster than any formula. But when you are standing on a ladder comparing a 100-inch image to a 110-inch image and deciding which one fits between the speakers, having the numbers in your hand beats guessing.
Prices and availability may change. Product images, names, and retailer links must be matched by verified ASIN. Do not state a current price, rating, stock status, or measured result without current evidence.
What ANSI lumens actually tell you
Brightness is the one projector spec that changes how a room feels, and it is the one most often fudged. A projector that says "4K" on the box may be decoding 4K content onto a 1080p imaging chip, and pixel shifting from that chip genuinely produces a sharp, watchable 4K-looking image, so that alone is not a dealbreaker. Brightness is different. A number quoted without "ANSI" attached has no defined test method behind it, which means you cannot compare it to anything, including another projector from the same brand.
Here is the practical translation. In a fully dark room, 1,500 to 2,000 ANSI lumens on a 100 to 120 inch screen is comfortable, and more brightness mostly buys you headroom for lamp dimming over time. In a room with a window and no blackout treatment, you want to be well above that, and even then a bright scene will look washed out in the afternoon. In a room with a single lamp you can switch off, 2,000 ANSI lumens is a reasonable working number. The point is not that bigger is better in the abstract. The point is that brightness and room light are a matched pair, and no mount, screen, or calibration setting fixes a mismatch between them.
Contrast claims deserve the same suspicion. Manufacturers publish full-on/full-off contrast ratios measured in a dark lab with a black frame and a white frame, and those numbers have almost nothing to do with how a movie looks in your room. What you actually perceive is contrast in mixed scenes, and that is driven by room reflections, screen gain, and how much light is bouncing off your walls. A dark room with dark walls does more for perceived contrast than any spec sheet.
Why the mount decides your image geometry
The mount is where a good projector becomes a bad picture. Three things go wrong. First, the projector is not perpendicular to the screen, so the image is trapezoidal and you reach for keystone correction. Second, the mount cannot hold the projector at the height you need, so you tilt it and create the same problem. Third, the mount sags or drifts after installation, and a week later the top edge of the image is soft.
The fix is mechanical, not digital. Set the projector square to the screen and use the lens's own vertical shift and zoom to place the image. If your projector has limited shift, your mount needs to give you the adjustment instead, which is why installers care about mounts with real articulation rather than a fixed plate. Plan the mount height around the screen's center line: for most ceiling installs, the projector's lens ends up roughly level with the top of the screen or slightly above it, depending on the projector's offset. Get that wrong by six inches and you are tilting the unit, and tilting means keystone, and keystone means a softer image with visible artifacts on straight edges.
The order I would work in
- Measure the room and decide the screen size first, then confirm your seating distance gives you a comfortable viewing angle.
- Check the projector's throw ratio against the distance you actually have, and confirm the image fits between the walls and above the furniture.
- Confirm the projector's brightness in ANSI lumens against the room's worst-case light condition, meaning the brightest hour of the day with the curtains you own.
- Check the projector's weight and mounting pattern against the mount's rating, and confirm the mount gives you enough tilt and roll to square the image without keystone.
- Do the arithmetic on paper before you drill, including image height, lens offset, and the drop you need from the ceiling.
Install day guidance
- Anchor into a joist or use a rated ceiling anchor, and never trust drywall alone to hold a projector and mount.
- Leave a service loop of cable at the projector so you can pull it down for cleaning without re-running anything.
- Set the projector square and use lens shift before you touch keystone, then leave keystone at zero if the geometry allows it.
- Note your final zoom, focus, and shift positions so you can return to them after cleaning or a move.
- Clean the intake filter on schedule and keep the projector's vents clear, since a hot projector gets louder and dims sooner.
Which option should you choose?
Choose the HAPPRUN 2000 ANSI 4K Decoding Projector with WiFi and Bluetooth, Auto Focus when you want one box that handles brightness, streaming, and focus in a room you cannot fully darken. Choose the Universal Projector Ceiling Mount - White when the install is straightforward, the projector has enough lens adjustment on its own, and you want the hardware to disappear into the ceiling. Choose the Chief RSMBUW Rpa Mini Elite Universal Projector Mount Lock B White when the room has traffic, the projector needs to stay locked in position, or the install has to survive other people. Choose the Texas Instruments TI-30XIIS Scientific Calculator, Blue when you want the throw ratio, offset, and screen math done in your hand instead of on a phone screen in the dark.
One caveat on all of this: brightness figures, contrast ratios, and even mount weight ratings come from manufacturers, not from an independent measurement in your room. Treat every number as a claim to verify against your own ceiling, your own walls, and your own viewing habits before you commit.
The bottom line
Plan the light first, then the hardware. A projector with a real ANSI lumen rating matched to your room's worst-case brightness will beat a more expensive projector in a room it cannot handle. A mount that lets you square the image mechanically will beat keystone correction every single time. And the arithmetic you do before drilling, on paper or on a scientific calculator, is what keeps you off the ladder a second time.